Bluesky Bottle
Why do plastic bottles leak sometimes? The answer often hides in tiny details: a tilted cap, a flattened neck, a weak seal, or pressure trapped inside the bottle. A bottle may look flawless on a store shelf, yet leak after several hours in a hot car.
Packaging expert Walter Soroka describes packaging as “the science, art, and technology of enclosing and protecting products.” That idea matters here. A plastic bottle is not only a container. It is a system involving the bottle wall, cap, liner, thread design, temperature, filling pressure, and handling conditions.
This guide explores five practical reasons leaks occur. It examines loose closures, damaged threads, overfilled bottles, material stress, and temperature changes. You will also see how simple checks can reveal trouble before leakage spreads across a bag or car seat.
Some causes are easy to identify. Others are surprisingly subtle. A cap can feel tight while its inner seal remains uneven. A bottle can survive one drop but fail after repeated squeezing. Small differences matter.
The explanation is not perfect for every bottle. Manufacturing methods, plastic types, and closure designs vary widely. Still, these patterns provide a reliable starting point for inspection. They also encourage a useful habit: do not judge sealing quality by appearance alone.
Understanding Why do plastic bottles leak sometimes helps consumers, product designers, retailers, and filling teams prevent avoidable messes. A few seconds of checking may protect the product, the package, and the surface beneath it.
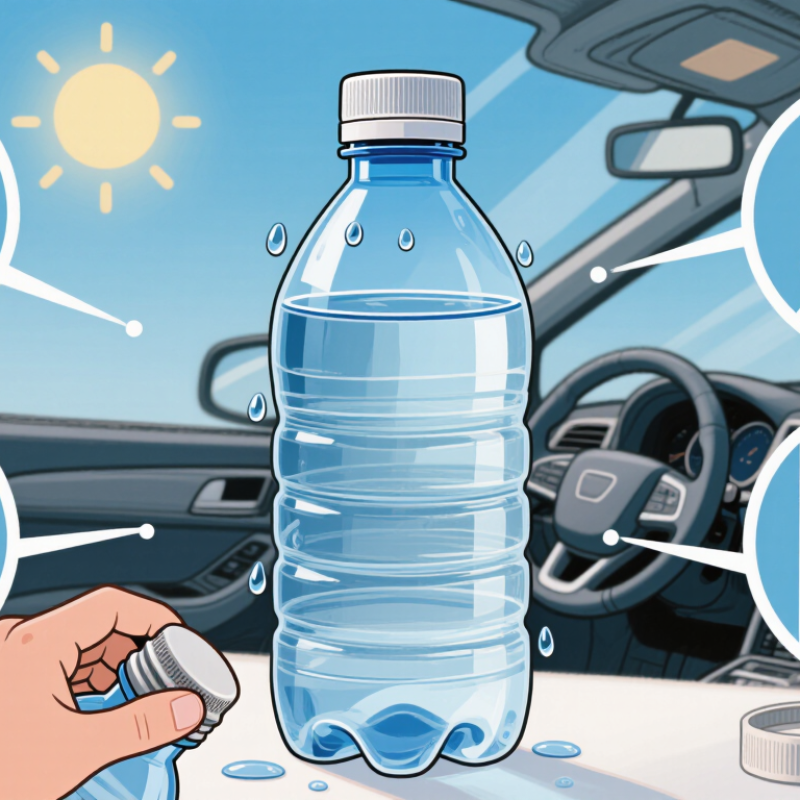
Cap torque is often the first place to investigate when a plastic bottle leaks. Too little torque may leave gaps between the cap, liner, and bottle finish. Too much torque can distort the closure or damage the threads. Both conditions may look similar during a quick inspection.
Check the target torque against the maker’s specification, not a general industry guess. The specification should match the cap design, neck finish, material, and sealing system. Use a calibrated torque tester and record application torque consistently.
ASTM D2063 helps evaluate torque retention for closures with continuous threads. It can show whether the cap loses holding force after storage, handling, or temperature changes. Test samples under defined conditions. Small differences matter.
Look for more than the cap. A tilted liner, uneven neck surface, molding flash, or bottle deformation can create a leak path. Hot filling may also change cooling behavior and reduce sealing pressure. In production reviews, a useful lesson is that the first suspected cause is not always correct. Torque readings can be acceptable while the bottle still leaks. Check the bottle finish, closure fit, and sealing contact together. Repeat testing with fresh samples. One test is rarely enough.
The maker’s specification should define acceptable torque ranges, test timing, and storage conditions. Keep records for each batch and inspect the torque tool regularly. A loose cap is visible. A damaged thread is not.
5 Tips Why Do Plastic Bottles Leak Sometimes?
Inspect Neck Finish and Liner Contact for Uniform Sealing
A bottle may look perfect but still leak after filling, transport, or storage. The neck finish is often the quiet failure point. Small ovality, thread damage, or plastic flash can prevent the liner from contacting evenly. Field inspections commonly find a dry seal on one side and a compressed liner mark on the other. That pattern deserves attention.
Tip 1: Check the neck finish with a go/no-go gauge. Measure height, diameter, thread profile, and ovality. Tip 2: Inspect the liner contact ring. It should show a continuous, even compression mark. A broken mark suggests uneven torque or a warped finish. Tip 3: Remove flash and sharp edges near the sealing land. Tiny defects can create a capillary leak.
Eurostat reported 186.5 kilograms of packaging waste per person in the European Union in 2022. Preventing avoidable rejects matters. Tip 4: Verify cap torque at line speed, not only during setup. Too little torque leaves gaps; too much torque can distort the liner. Tip 5: Run leak tests after temperature conditioning. ASTM D4991 covers vacuum leak testing for rigid containers, while ASTM F2096 uses bubble emission testing. These methods support reliable checks, but they do not replace a product-specific acceptance limit. A useful improvement is recording torque, liner batch, and leak location together. I have seen teams inspect the cap first and overlook the neck finish. That habit is easy to repeat, and worth challenging.
| Tip | Inspection Dimension | What to Check | Typical Leak Mechanism | Recommended Verification | Control Action |
|---|---|---|---|---|---|
| 1 | Neck-finish dimensions | Inspect thread profile, finish diameter, sealing land, support ring, and neck ovality using calibrated gauges or a vision system. | An undersized, oversized, damaged, or oval neck can prevent the closure from applying uniform radial and axial pressure. | Compare measurements with the approved neck-finish drawing. Check samples from the start, middle, and end of each production run. | Hold nonconforming lots, verify tooling wear, and correct molding or trimming conditions before release. |
| 2 | Liner and sealing-surface contact | Confirm that the liner or plug seal contacts the complete sealing land without wrinkles, folds, contamination, or visible gaps. | Uneven contact creates leak channels, especially when the bottle is stored on its side or exposed to internal pressure. | Use visual inspection, controlled closure cross-sections, pressure decay, or dye-transfer checks where compatible with the package. | Improve liner placement, remove particles from the finish, and verify liner thickness and compression behavior. |
| 3 | Application torque and removal torque | Measure closure application torque with a calibrated torque tester. Check that the cap is fully seated and not cross-threaded. | Low torque may leave insufficient sealing force; excessive torque can deform the closure, strip threads, or distort the liner. | Establish an application-torque window from package validation and monitor torque at regular sampling intervals. | Calibrate the capper, inspect chuck wear, and adjust speed, clutch settings, or closure alignment. |
| 4 | Closure alignment and thread engagement | Check for tilted caps, incomplete thread engagement, damaged tamper-evident bands, and interference between the cap and support ring. | A tilted or partially engaged closure applies pressure to one side of the seal while leaving the opposite side loose. | Inspect cap seating from multiple angles and perform a leak test after transport simulation or repeated handling. | Center the bottle beneath the capping head, reduce guide-rail interference, and remove damaged closures from the line. |
| 5 | Material, temperature, and pressure effects | Review bottle wall stiffness, closure material behavior, product temperature, carbonation or vapor pressure, and storage conditions. | Thermal expansion, chemical stress cracking, paneling, or pressure changes can reduce contact force after filling and sealing. | Conduct leak and pressure testing at the intended fill temperature and after conditioning at the specified storage temperatures. | Match materials for chemical compatibility, control fill temperature, and validate the package under realistic distribution conditions. |
5 Tips Why Do Plastic Bottles Leak Sometimes?
Account for Heat: PET’s Glass Transition Is About 67–81°C
Plastic bottles do not need to melt before they leak. Heat can change the bottle, cap, and seal long before failure looks dramatic. For PET, the glass transition temperature is commonly about 67–81°C. That range is not a leak threshold. It marks a shift toward softer, less rigid behavior. Actual leakage may begin earlier under pressure, sunlight, or uneven heating. A dark dashboard can create surprisingly hot contact points.
Tip 1: Keep hot liquids away from ordinary PET bottles. Tip 2: Never leave a filled bottle inside a closed vehicle. Tip 3: Check the cap after heating. A softened liner or tilted closure can release liquid. Tip 4: Leave headspace when appropriate, because warming liquid and trapped air can increase pressure. Tip 5: Inspect the bottle’s base and shoulder for whitening, dents, or distortion.
For dependable testing, measure both liquid and surface temperatures. Cooling the bottle first can hide temporary deformation. A quick squeeze test helps, but it does not prove seal reliability. I once blamed the plastic alone, yet the real problem was uneven heating near the cap. That mistake still matters. PET’s glass transition range varies with processing, wall thickness, additives, and test conditions. Treat the number as engineering guidance, not a guarantee. A bottle that looks intact may still have a weakened seal.
5 Tips Why Do Plastic Bottles Leak Sometimes?
Control Internal Pressure: 1 bar Equals 100 kPa
A leaking plastic bottle often reflects pressure, heat, or a weak seal. During quality checks, I inspect the bottle before blaming the cap. A small crease near the neck can create a hidden leakage path. Check the cap threads, sealing ring, and bottle opening for dust or deformation. Even a tiny particle can prevent full contact.
Internal pressure deserves careful attention. One bar equals 100 kPa. When liquid warms, trapped air expands and pushes against the walls and closure. Carbonated or fermenting liquids can create even higher pressure. Never assume a thick-looking bottle can safely hold one bar. The actual limit depends on its material, shape, temperature, and design testing. Leave suitable headspace, avoid overfilling, and keep sealed bottles away from direct heat.
Cold storage can also change the seal’s flexibility. Inspect bottles after transport, especially when cartons show dents or compression. Store them upright when practical, and test closures with gentle pressure rather than force. I once focused only on cap tightness and missed a hairline crack under the shoulder. That mistake changed my inspection routine. Still, visual checks are not perfect. For critical packaging, pressure testing, leak testing, and documented quality controls provide more reliable evidence.
Test Drops and Vibration Under ASTM D4169 Distribution Conditions
Plastic bottles often leak after small seal failures, not dramatic breaks. A loose cap, uneven neck finish, or thin liner can open during transport. ASTM D4169-23 evaluates packaged products through distribution cycles, including impact, vibration, and compression. ASTM D5276 separately addresses free-fall drop testing. These standards show why a bottle can pass a pressure check yet fail after movement.
Fill bottles to the intended level, apply production torque, and condition them before testing. A 24-hour conditioning period can reveal shrinkage, paneling, or cap relaxation.
Corner, neck, and base impacts create different stress patterns. A bottle may look normal but leak around the cap seal.
ASTM D4169 distribution cycles combine hazards that can amplify small defects. Inspect for liquid trails, wet threads, and cap movement.
Industry packaging laboratories commonly use torque meters because visual inspection misses small changes.
One successful bottle proves very little. A sample size of three may expose variability, but it is still limited evidence. I sometimes see teams stop too early. That is a mistake worth reconsidering. Use the selected ASTM assurance level, package weight, and distribution cycle as documented test inputs, not assumptions.
Too little torque may leave gaps between the cap, liner, and bottle finish. Too much torque can distort the closure or damage the threads. Check more than appearance.
Compare the reading with the maker’s specified torque range. Use a calibrated torque tester. Record application torque for every batch. General industry guesses may mislead.
It shows whether the cap loses holding force during storage, handling, or temperature changes. Test samples under defined conditions. One test is rarely enough.
A tilted liner, uneven neck, molding flash, or bottle deformation may break sealing contact. Dust can also block the seal. A tiny particle matters.
Heat can soften the bottle, cap, or liner before visible failure appears. For PET, glass transition commonly occurs around 67–81°C. That range is guidance, not a leak limit. Actual leakage may start earlier.
Measure the liquid and surface temperatures. Inspect the cap, base, and shoulder for whitening, dents, or distortion. Do not rely only on a quick squeeze test. It can miss a weakened seal.
One bar equals 100 kPa. Warming liquid and trapped air can increase pressure inside the bottle. Carbonated or fermenting liquids may create higher pressure. Leave suitable headspace and avoid overfilling.
Blaming the cap too quickly is common. I once missed a hairline crack beneath the bottle shoulder. That changed my inspection routine. Visual checks are not perfect. Use pressure and leak testing when reliability matters.
Why do plastic bottles leak sometimes? Leakage is often caused by an imperfect seal, excessive pressure, heat exposure, or damage during transportation. Start by checking cap torque against ASTM D2063 testing methods and the container maker’s specification. If the cap is too loose, the seal may not close properly; if it is too tight, the liner or threads can deform. Inspect the neck finish and liner contact to confirm that sealing surfaces are clean, even, and uniformly compressed.
Temperature and pressure also matter. PET’s glass transition temperature is approximately 67–81°C, so high heat can affect its shape and sealing performance. Internal pressure should be controlled as well, remembering that 1 bar equals 100 kPa. Finally, conduct drop and vibration tests under ASTM D4169 distribution conditions to identify weaknesses that may appear during handling and shipping. Consistent inspection and testing can greatly reduce unexpected leaks.
